The word Kermesse may mean festival or fair. I decided to use it for this blog, since here I would present a festival of crafts and arts done by myself... and 365 refers to the number of days in a year. The idea started churning in my mind when I came across http://makesomething365.blogspot.com/. The main concept of my blog is to show a piece of art or some craft on a daily basis for 365 days. Some of them I’m well familiar with, while others are completely new. Hope you’ll enjoy this year long journey and feel free to leave any comments.

Friday 29 April 2011

Day 69 Lacey paper ball

I watched this on local TV today. It was done using round paper patterned on both sides. Sinec I didn't have such paper - and I had some doilies - I decided to give it a lacey twist... all in all on the occasion of the new Princess Kate's royal wedding with Prince William :-)


Thursday 28 April 2011

Day 68 Mother's day card

I have completed the Mother's day card and here's a photo of it.


The egg pice could not be applied directly to the card due to its roundish shape. So I attached a piece of green felt to the back and trimmed off the excess. Some glue was applied to the back of the felt and the whole thing - egg + felt - attached to the card.

An outline sticker was stuck on the egg as well for the greeting. Everything was completed with a card insert.


Wednesday 27 April 2011

Day 67 Wedding Card Ready - getting stuff for Mother's Day cards

The wedding card has been finished (complete with insert) and since Mother's Day is practically round the corner, I started working on card making!


The material needed is as usual. But I am using an egg cutout from a previous project, and it will act as a sort of vase.


While the colour on the egg piece was drying up, I applied some glue on the outer edges of the card and applied corded pearls.


The paint has dried up ready for the next coat... probably need 5 in all.


The fabric flowers had a pearl bead stuck in the middle, while the other flowers (paper-like) had a flat backed pearl applied!


The egg's place was traced on the card so I could apply the flowers while the paint was drying... yet again & again ;-)

Day 66 Wedding card material & design

Here are the photos for the material needed for the card, and also a rough design. I still need to get more items...


Day 65 Sketch book & Basic Tools

I set up a sketch book. It’s not really a book; more a ring binder file with some paper in it. The fact I chose a ring binder is that I can put in any sketched ideas I have while on the go.
It is useful since I get ideas cropping in my mind that I don’t have the time to do there and then. I also included birthdays and special occassiona lists for the cards and gifts I need to prepare.
Here is also a basic tools and equipment list. I found that every time I include the material needed for a crafty thing, some items are common for almost every project. Some of these items are not needed for every project, but are good to have:
• Pencil
• Scissors – paper, fabric, embroidery
• Craft knife – large handle & small handle
• Tweezers
• Ruler
• Sharpener
• Rubber
• Paint brushes
• Empty containers
• Tissues & wet wipes
• Glue – various types
• Cutting mat
I didn’t get the cutting mat until recently, and I wish I had done so before. It gives you peace of mind making sure you’re not damaging the underlying surface and the measurement markings help you in your craft especially paper and fabric cuttings.

Day 64 Egg Art - decorating outside and finishing

The outside edges of the egg were decorated with cord and corded pearls. The fabric glue was used and applied through a fine nozzle.


The figurine was attached on the inside.

Some ladybirds and a flower were attached on the outside. The egg was placed on an appropriate stand, delicately designed with a cute rabbit and birds on a branch tree.
The egg with the stand was placed on a white plate with gold edges. I applied an outline sticker with a 'Happy Easter Day' wording and added 'Gabriel' and the Easter Day date. This is as a memento for my son's first Easter!


Day 63 Egg Art - covering inside with fabric

This is rather tricky... and you'll need some more items I forgot to mention before ooppsss!! Ehm the egg was painted with several coats of acrylic paint (5 or 6). Pearl and metallic effect colours look better, but you can also add fine glitter powder over matt colours on the egg itself!

Fabric material - satin like lining is fine
A piece of chain - I used a piece of broken necklace I had, but you can buy this

Attach the chain first, using epoxy resin glue. The ends will be hidden by the fabric later, reinforcing the chain attachment at the same time. The length of the chain needs to be just enough for the egg not to open all the way through, since the hinge is attached to the outside.


Scrape some of the membrane from the inside of the egg, just at the edges, with the help of a craft knife or manicure scissors. Always handle with care.

Apply fabric glue all around the inner side of the egg. Apply a piece of fabric and cut any remaining part over the edge. Try to make it look puffy and cushiony.


Don't worry much about finishing touches, tidy it up as best you can... the rest will be covered in cord :-)

Day 62 Egg Art Material

I attended and did a couple of designed eggs some 3 years ago. They are based on Faberge' egg designs, and though these don't come as costly the effect is beautiful, more so when you consider that they are made out of a real egg. Eggs come in different sizes depending on the bird species, and colours. No animals are harmed since the egg is not fertilized in the first place, and any eggs I empty myself, I use in food I make!

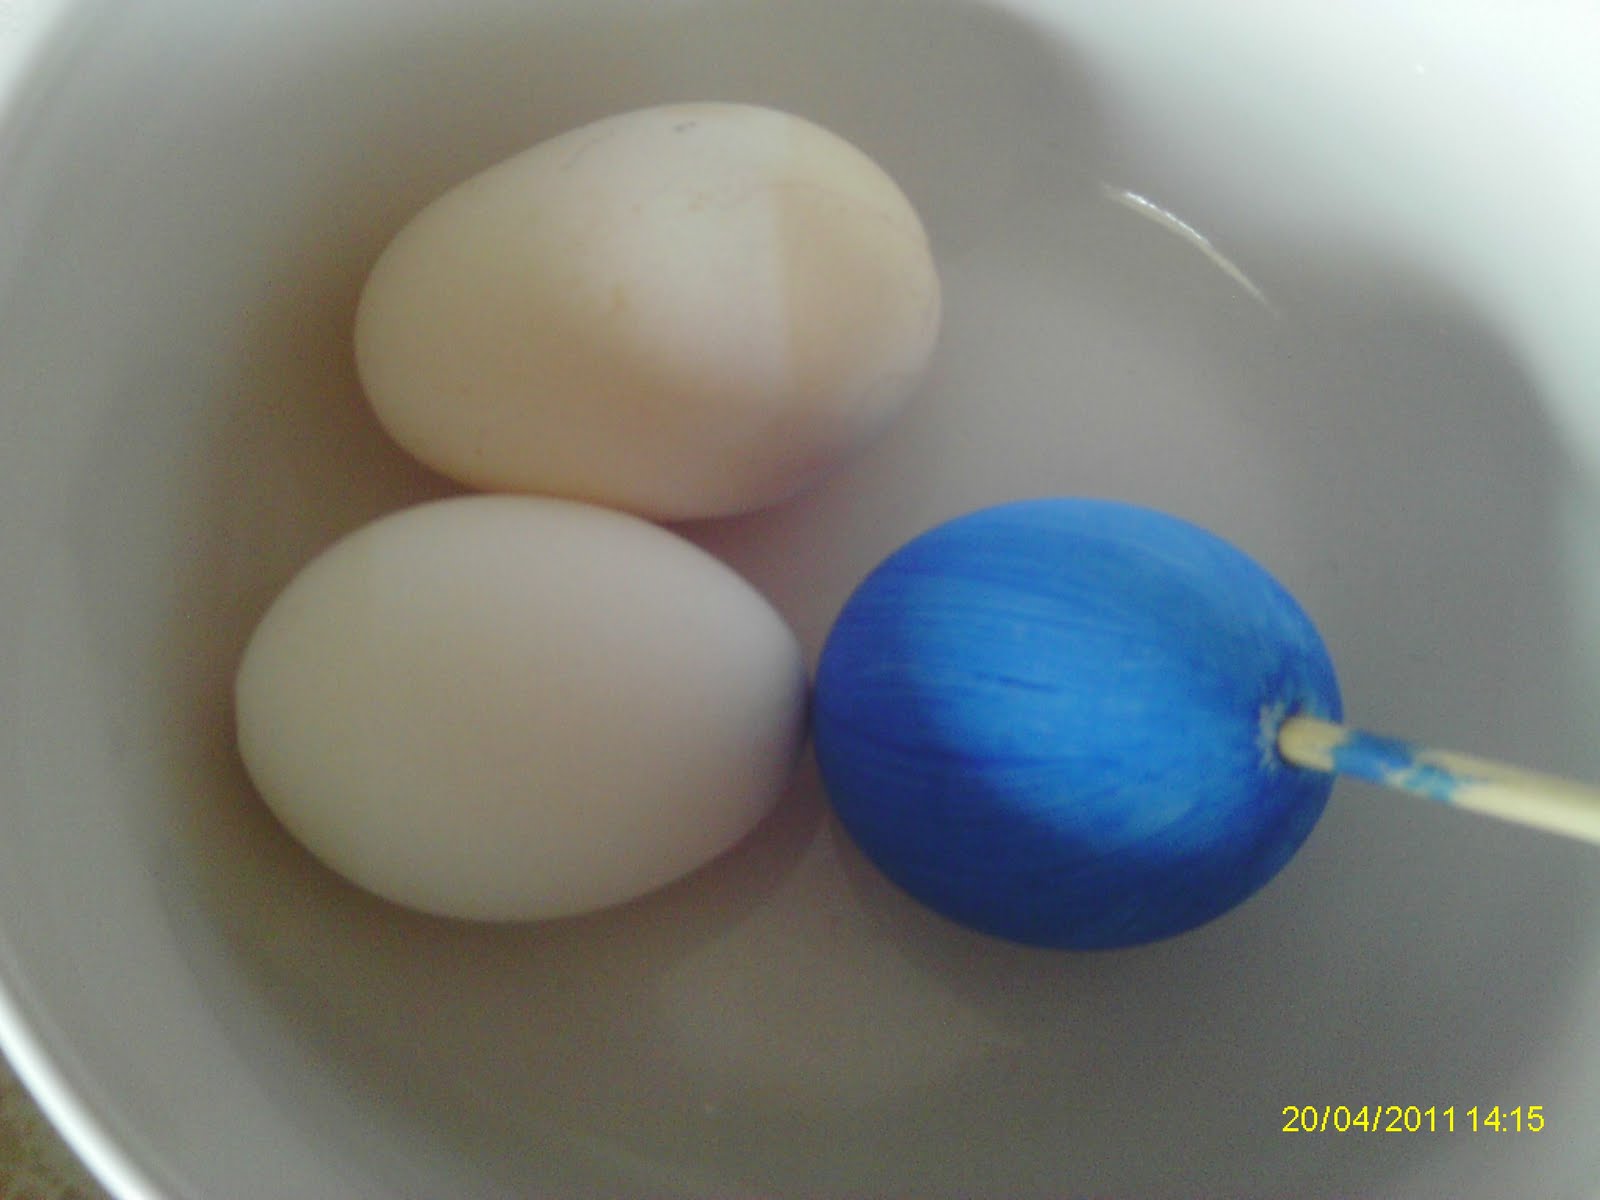
The egg here is a duck egg and I bought it already emptied, cleaned and cut.
Apart from the egg you'll need:
Scissors
Acrylic paint
Paint brush
Jar with water
Fabric glue
Epoxy resin glue
Tweezers
Craft knife
Hinge


For Decor:
Flowers
Filigree shapes
Outline stickers
Cord
Corded pearls
Other statuettes or shapes
Beads, feathers and many other embellishments


I started out by checking where the egg cuts meet and this was marked in pencil.


Before painting colour on the egg (this helps to reinforce it), attach the hinge. As an inexperienced egg crafter, I attched it on the outside. Score some lines on the hinge itself with the craft knife for it to adhere well. Mix equal parts of the epoxy resin glue and apply where needed.
NOTE Read safety notes and FOLLOW.


Thursday 21 April 2011

Day 61 More decorated eggs

Here are some more painted eggs decorated with acrylic paints.
No animals were harmed in the process :-)


Day 60 Biscuits

I made these biscuits and some other varietes instead of figolli this year... these are made of sable' dough (almond). The others are made of lemon and greek ones called amigthalota.

Day 59 Painted eggs


Day 58 Bead & nylon ring

This ring is made simply using some nylon thread and seed beads. The 3 larger beads are about 6mm in size, and end up in a knot.


Saturday 16 April 2011

Day 56 Crafts exhibition

How are you all? Today I have been to a crafts exhibition. It was held in Floriana and organised by some crafters who appear on a local morning program 'Siegha Zmien'.

It was fun to talk to some of them and to discover new ways to do things!

What I liked most was the beading, egg arts and general crafts. There were also exhibits for patchwork & quilting, Hansa (punch needle), plastic canvas, parchment, Ganutell (thread filigree) and Monastir work, and lace (bizilla).

The craft teachers were very helpful with some queries I had.

One thing I liked about beading is that it's a way with cross-stitch and that you can combine both in the same picture. It is also amazing the amount of various coloured seed beads you can find. I will have to try this one out.

Also saw paper decorations done in tea bag folding style... supplies will be available next week and I hope to get some.

Egg art is simply magnificent. I had taken a couple of classes some 3 years ago. They are done from real eggshells with various sized and coloured eggs depending on the species of the bird! Will be looking forward to work some more with this craft :-)

See you later x

Friday 15 April 2011

Day 55 Marble effect


This effect is achieved by placing some drops of colour onto the surface of some water in a bowl. Place drops of a different colour in the middle of the first colour. You can apply even 3 or more colours. Swirl the paint with the help of a toothpick. Dip the object slowly into the water and remove it quickly. Allow to dry.

Here I used an empty egg. I clean the inside of the egg using a mixture of water and some vinegar to remove all residues of the egg. I placed the egg on a kebab stick and let it dry for about 20 minutes.

The colours I used were specifically for this project. Nail polish can also be used to achieve this effect.


I think it is more ideal to use a larger container... see ya!