The word Kermesse may mean festival or fair. I decided to use it for this blog, since here I would present a festival of crafts and arts done by myself... and 365 refers to the number of days in a year. The idea started churning in my mind when I came across http://makesomething365.blogspot.com/. The main concept of my blog is to show a piece of art or some craft on a daily basis for 365 days. Some of them I’m well familiar with, while others are completely new. Hope you’ll enjoy this year long journey and feel free to leave any comments.

Saturday, 12 March 2011

Day 21 Iris Folding Teddy Bear

This is a great craft I am trying for the first time. You can use strips of paper you already have or cut some from larger pieces of paper, even wrapping paper or printable patterned paper.


Revealed:


Links for instructions & patterns:

http://www.circleofcrafters.com/irisfolding

http://www.circleofcrafters.com/irisfolding/irisfoldingheart.html

http://www.youtube.com/watch?v=25IfcffmE7I

If you don't have patterned paper you can search and print "free printable patterned paper".


Take care, libellunina x

Friday, 11 March 2011

Day 20 Sewing & alterations

Today for some alterations. I needed to lengthen a suit that my son has since he nearly outgrew it without wearing it much, and I decided to do it from the shoulder straps that are originally crossed over. I started by seam ripping them and then sewing bias binding all around. It was my first attempt and found it harder than it looked, but it turned out pretty decent.


I also managed to put on some snap-on buttons with some help from my beloved husband x also a first time for this...


... and some cupcake cooking, yummy yummy thanks to a lovely recipe on http://www.planetmona.com I just added some lemon zest to it, ready-made chocolate frosting, chocolate buttons and vermicelli.

Have a good night and an awesome weekend!


Thursday, 10 March 2011

Day 19 Lucky knot

So the link for Bertrum the cat is www.youtube.com/watch?v=mOS8_ekgsno since I have noticed I didn’t put it in yesterday.

I have successfully managed to do the lucky knot, which some claim to be a very hard one. I couldn’t master it with diagrams alone. With the help of this lady on video, I did it! I will not be giving instructions, just some photos of the steps I did and the link to the video.


http://www.youtube.com/watch?v=VWVAU9JK5b0 lucky knot

I found it looked better with cord or string than ribbon and about 50cms will be enough.


Try it out... it is amazing.

Wednesday, 9 March 2011

Day 18 Research

You might find the title intriguing or very boring. So let me explain the choice of the title; today whatever could go wrong did well at least with regards to this project.

I wanted to do something with polymer clay and found it to be too dried up to work with. Having a well organized and appropriate craft corner greatly helps in getting quick jobs done instead of looking around for things. I mentioned craft corner on purpose. While some of us might be lucky enough to have an adequate size home with a room to spare for crafts, most of us are lucky enough to have a roof on our head. I had envisioned having a craft room when it took me some time to become a mother. Thank GOD now the craft room now will become my son’s bedroom. I am thinking of having a corner in the laundry room but in due time. I talk (write) too much.

So back to polymer clay, I found out that there is a product you mix with the dried clay, work it well and blend it and the clay is restored. I’ll just have to get this medium.

So, next I thought of doing some parchment craft. I’m not very experienced and after choosing the project I noticed that I lacked some tools; will get them from Mum and Sis in the weekend hopefully ;-)

Browsing through the parchment book I found the instructions for a lucky knot, something I’ve been meaning to do for ages. Today is not the day to do it! I feel like being thumb less, not like Bertrum the cat [link]. It’s like having two left feet for dancing (recently blamed for GABA chemical stability in our minds) but for hands. I don’t know what else to call it! It was then I remembered I knew some knotting used to do friendship bracelets decades ago (as if I’m 70). Not today either… ufff!!

However, it was not a wasted day. I did plenty of laundry; it takes mastery to sort and put in place pile upon pile of all sorts of garments and towels and whatnot. Also, I did some mending of clothes and managed to break the sewing needle :-P I went for a walk with dear son for an hour and a half picking some groceries on the way. Oh! and got the ready-made butter cream frosting. I could not imagine how it would have turned out in all this hustle and bustle. We even saw a lady in lime green and purple on the way home, and thought that it made a lovely colour combination.

It was also the day to happily and unexpectedly receive a call from a person who I used to not think much of. Situations change and so do outcomes. Friendship comes from people who are sailing the same boat as you, and as much as you need to hear some nice words, so do they. On a spiritual note: Lent might be more meaningful doing unpleasant things or give a helping hand than not eating sweets or meat, but everything to its place.

Creatively, I became aware of some new crafting material, interesting colourways and things can go wrong but it’s not the end of the world. Ehmm now I’m going to do some ricotta pies and please let nothing go wrong there!

Peace and love x

Tuesday, 8 March 2011

Day 17 Giftbox lid with aperture

A pretty productive day with particular thanks to my son who has slept for most of the night :-) Happy woman’s day.
Well I’m making a lid for the box I did yesterday. It is much the same but with a few alterations. You will need to add a couple of mms for the top to fit nicely into the base, so if you are thinking of doing both base and lid you can practically draw the pattern for both at the same time. I did not do it this way since I wasn’t sure I would be doing the lid!

So you will need:
Paper or card;
if the box is smaller than A4 you might even use photo paper maybe with some photos printed on it (could be tricky)
Pencil
Ruler
Scissors and craft-knife
Double-sided tape or glue
Acetate plastic sheet

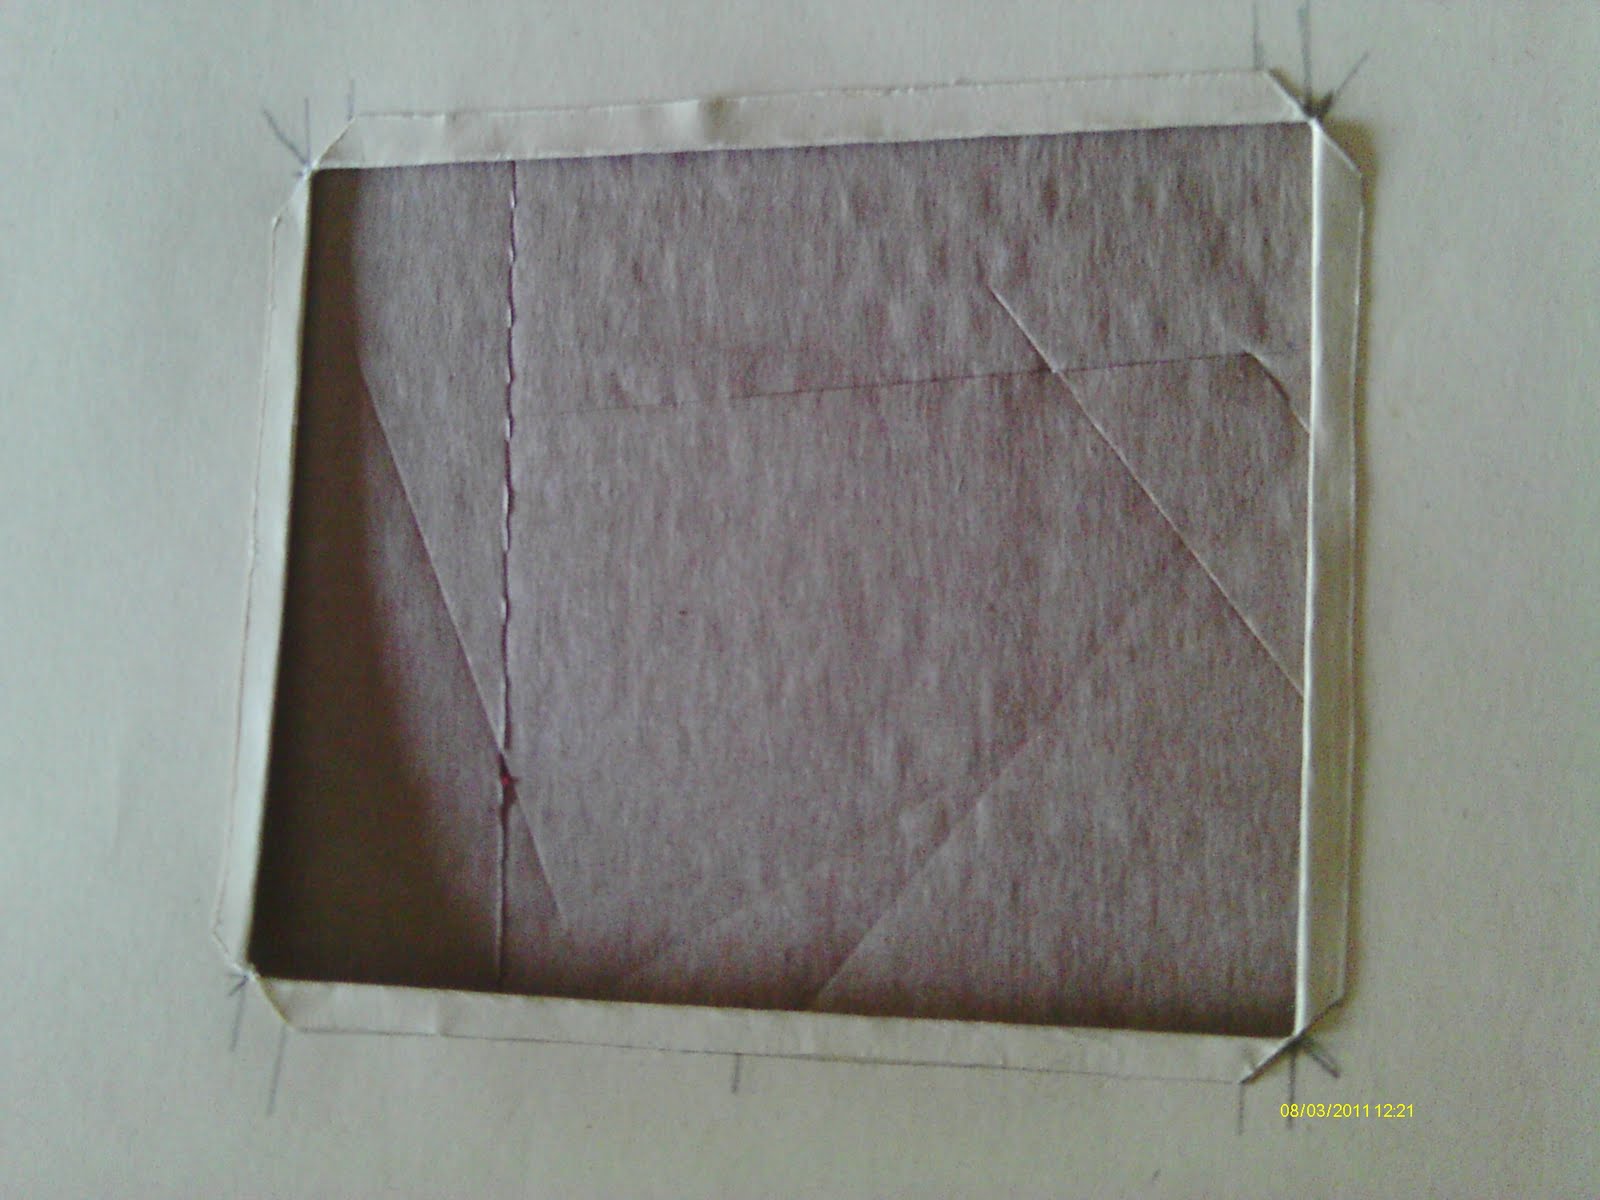
Draw the pattern acoording to the measurements you have for the base and remember to add a couple of mms (usually 2 are enough, depends on the thickness of the card). Also make sure that the height of the sides are all equal in size (shown by arrows in picture) especially if you’re folding over the edges. Prepare the folds but don’t fold it just yet as its easier to work on a flat area.


Next, draw the shape of the aperture (I did a rectangle but you can do any shape), draw a slightly larger rectangle just outside the other one and draw diagonal lines at the corner. Cut the diagonal lines with a craft knife, making sure to protect the working surface under the card with a cutting mat or a thick piece of cardboard.


Cut the inside rectangle and fold over the lines till the diagonal cuttings. This step is done to have a clean edge around the aperture. Apply some double-sided tape or glue all around, fold over and press. Cut a piece of acetate plastic width and length 1 cm larger than the aperture window. Apply ds tape and fix in place.


Away from the aperture: apply some glue or ds tape at the corners and fix these first before folding all the edges so that these are neatly covered.

Fold all the other edges, place over the base and you’re done!


Have a great day... now off to prepare lentil burgers and minestrone in preparation for Ash Wednesday, veg and veal soup for the cute little one and pancakes for later!

Monday, 7 March 2011

Day 16 Gift box

I received the photobook I ordered some days ago and it looks really good... all it needs now is a giftbox which I am going to do myself.

You need:
Paper or cardstock big enough to cut out the pattern in one piece
Scissors
Ruler
Pencil
Double-sided tape

Measure the gift including the height. If you’re using thin card double the height so you can fold it over and make it sturdy. Cut all around the outerline of the pattern and cut again at the bold lines. Fold over the dotted line. Next apply some double-sided tape and fold the longest part under the sides to form a box; similar to a tray. That’s all folks!


Sunday, 6 March 2011

Day 15 A day in my life

SUNDAY,
me with BABY dressed as DRAGON for CARNIVAL;
hubby been at WORK;
got a CAKE RECIPE from Mum.


Today I decided to draw a day in my life. The words in capitals above show the various components of the drawing!


Good night to all x